

 Jinba Flow
 Jinba App
 Jinba Toolbox
Jinba App Neo is in Beta. Access requires an invitation to an organization, or an account issued by your administrator.
Overview
1. Receive the invitation email
When an administrator invites you to an organization, you receive an email from Jinbanoreply@jinba.ai with the subject “Invitation to join <organization>”.
The body contains the inviter’s name, the role you are granted, and two links.
Invitation email body
The language of the invitation email follows the UI language of the person who sent it, not your own. If it was sent from a Japanese console, the subject reads 「〈組織名〉 への招待」 and the body is the Japanese translation of the text above. Search your inbox for both if you cannot find it.
- No account yet — use the second link (
/signup) to register (go to step 2) - Already have an account — open the first link (
/organizations) and accept the invitation (go to step 4)
2. Sign up
Open https://auth.jinba.io/signup to reach the Create Account screen, enter your name, email address, and password, then click Create account. If the sign-in screen appears instead, use “Don’t have an account?” at the bottom to switch to sign-up.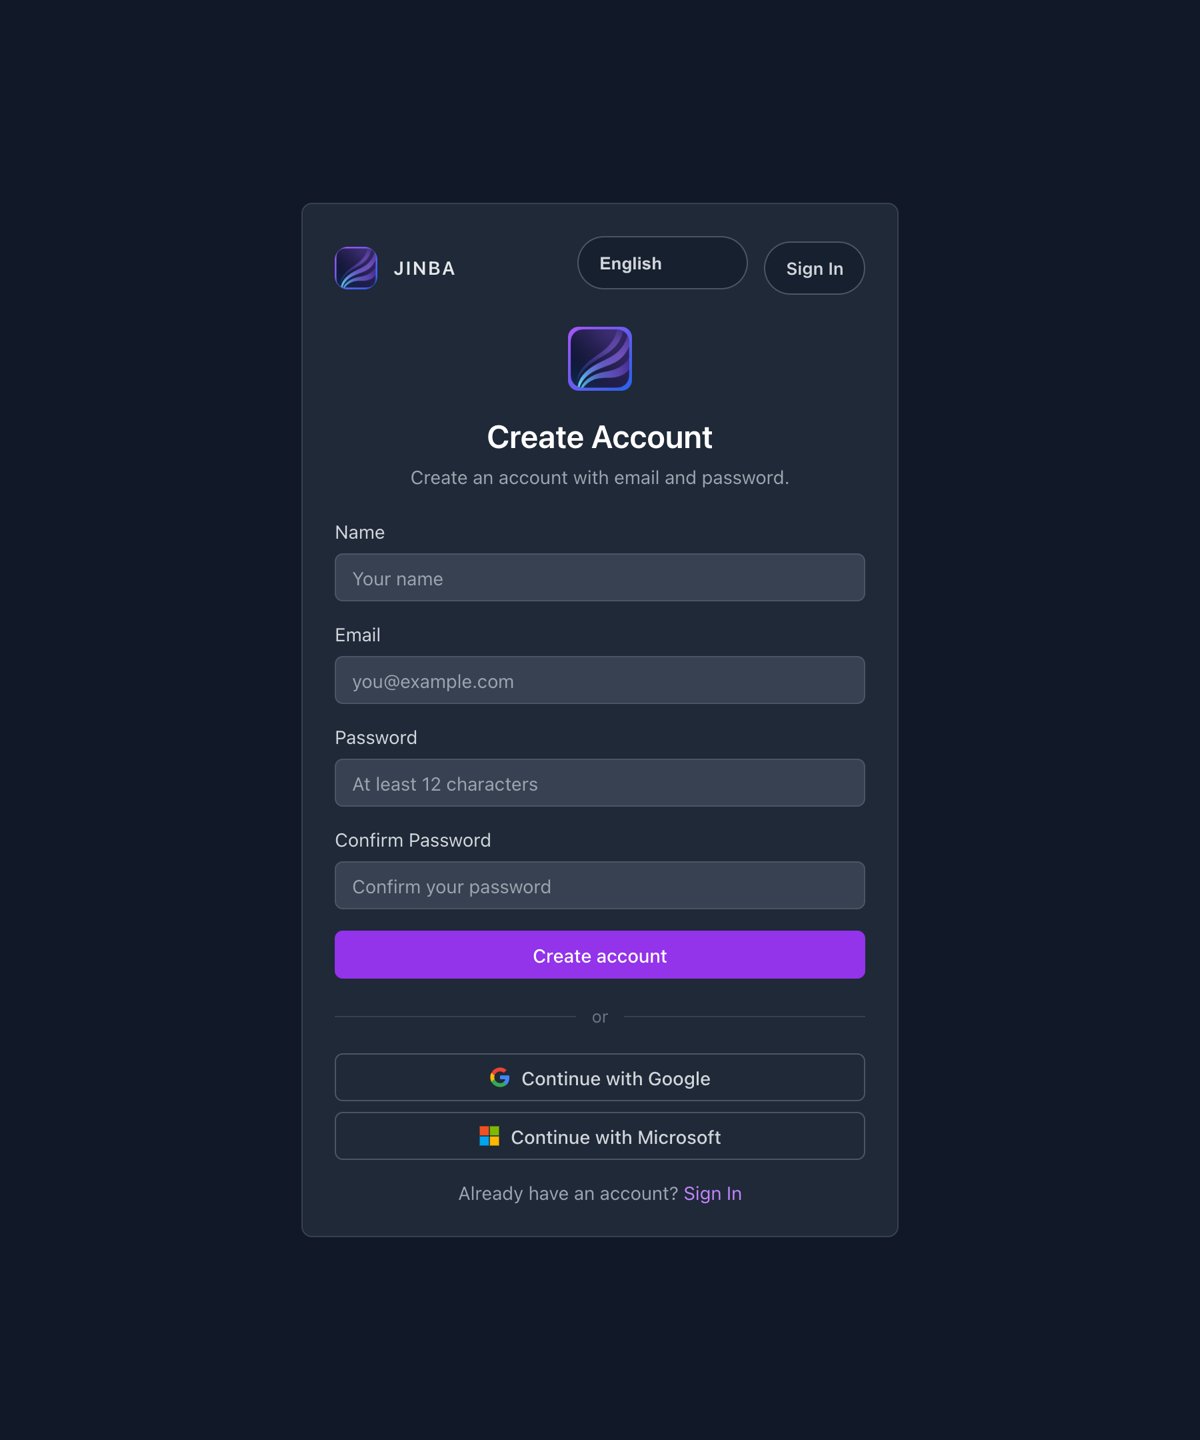
Creating the account does not sign you in. Continue with the email verification in step 3.
3. Verify your email address
After the account is created you receive a verification email with the subject “Verify your email” (this message is English only). Open the link in it.- Opening the link signs you in automatically and takes you straight to the organizations page (auth.jinba.io/organizations)
- The link is valid for 1 hour. If it has expired, attempt to sign in at https://auth.jinba.io and a fresh verification email is sent
4. Accept the invitation to your organization
Open https://auth.jinba.io/organizations (the Organizations screen). Your organization appears under Pending invites — click Accept. After accepting, you join the organization and it is listed under Your memberships.- This acceptance is the shared “join an organization” step for all Jinba services, not just Jinba App Neo. Until it is done, signing in at step 5 will not show your organization’s workspaces
- Only invitations addressed to the email you are signed in with are listed
- Your memberships lists shared organizations only. The personal organization created for you at sign-up is not shown
5. Sign in to Jinba App Neo
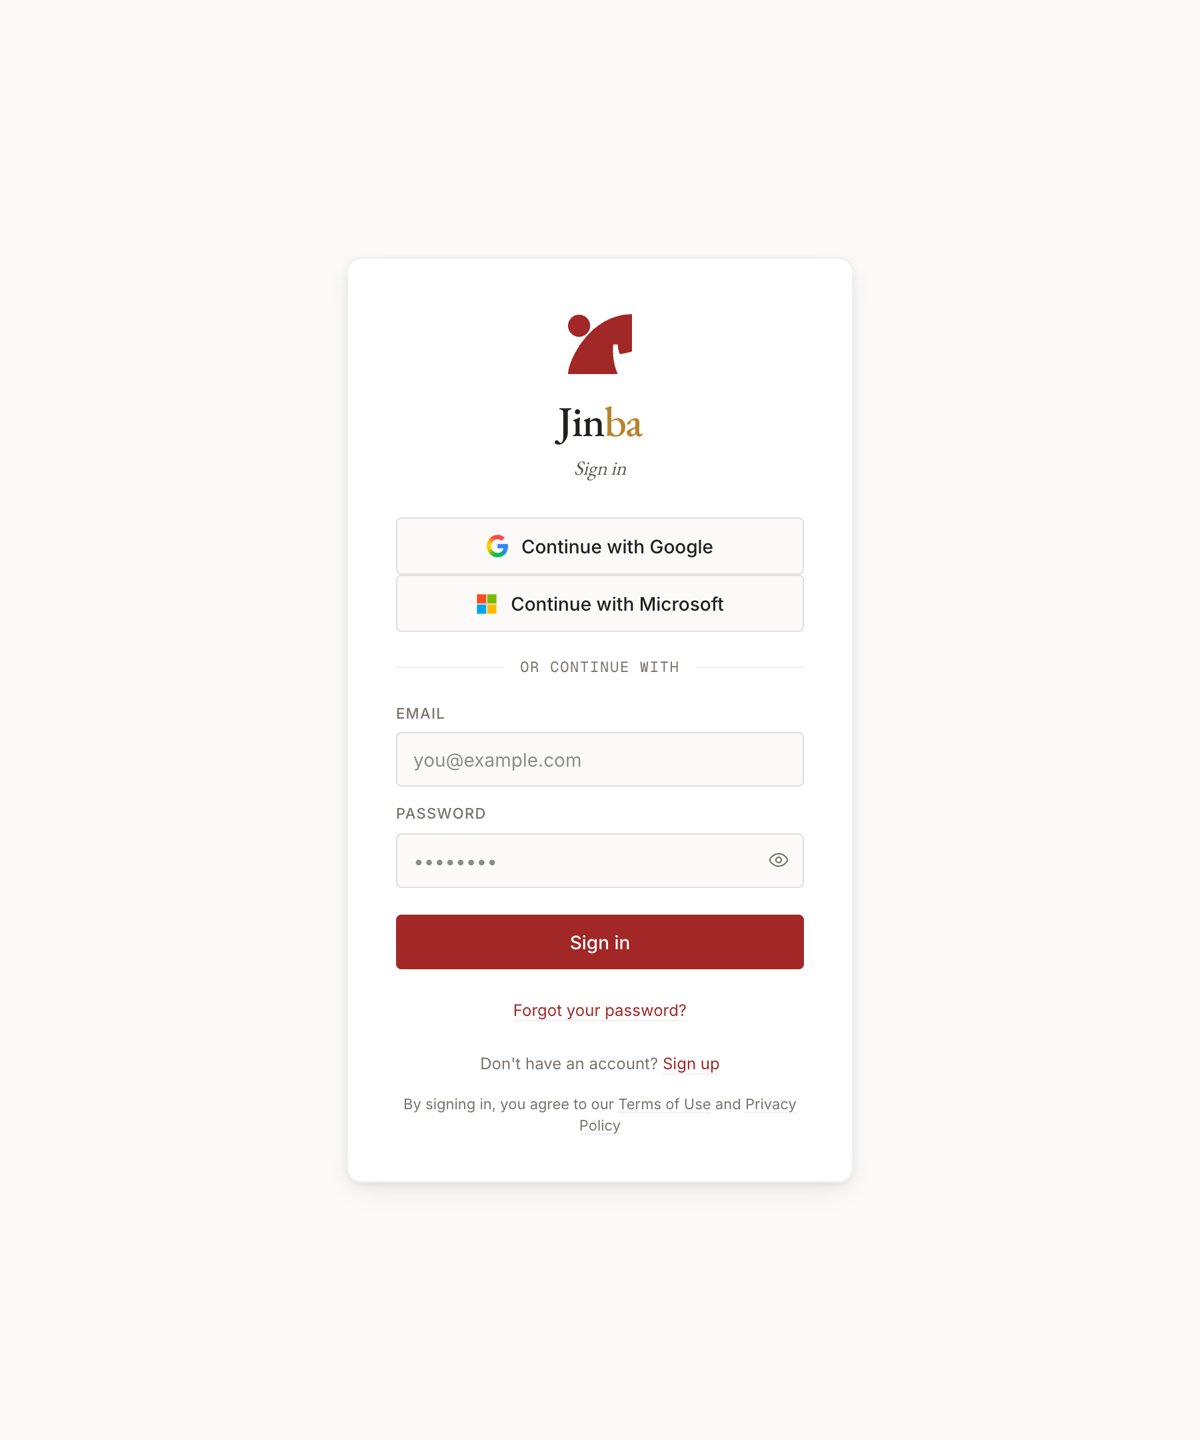
Go to https://neo.jinba.io/ and authenticate with one of the following:- Email address and password
- Google account
- Microsoft account
- SSO (if enabled for your organization)
6. Open your workspace
On your first sign-in, a workspace of your own (“<Your name>’s Workspace”) is created automatically. Because that workspace is private to you, agents, skills, and knowledge shared across your organization do not appear there. If you were invited to a shared workspace beforehand, you also become a member of it automatically on that first sign-in. The workspace name at the top of the sidebar tells you which workspace you are currently in. To switch to the shared workspace, click the workspace name button at the top of the sidebar. It lists your current organization and the workspaces you belong to in it — select the shared one. The agents, skills, and knowledge shared with your organization then become available.Troubleshooting
I can't find the invitation email
I can't find the invitation email
Check your spam folder and search for the sender
noreply@jinba.ai. The subject is either “Invitation to join <organization>” or its Japanese equivalent 「〈組織名〉 への招待」 (see step 1). If it is still missing, contact your Jinba representative — an invitation can be resent once it has expired (7 days).Clicking Accept fails / I can't join the organization
Clicking Accept fails / I can't join the organization
The most common cause is that step 3 (email verification) is not complete. Open the link in the “Verify your email” message and try again. If you cannot find that email, attempt to sign in at auth.jinba.io and a new one is sent.If it still fails, the invitation may have expired (7 days), or it may have already been accepted or cancelled. Contact your Jinba representative.
I signed up but my organization doesn't appear
I signed up but my organization doesn't appear
You may have registered with a different address than the one that received the invitation — invitations are bound to a specific email address (compared case-insensitively). Let your Jinba representative know which address you use and we will reissue the invitation to it.Note that the personal organization created for you at sign-up is never listed under “Your memberships”.
My password is rejected
My password is rejected
Passwords need at least 12 characters and must include lowercase, uppercase, digits, and symbols. Previously used passwords and passwords known from public data breaches are also rejected. If a compliant password is still rejected, try a different one.
I want to switch organizations / I sign in with SSO
I want to switch organizations / I sign in with SSO
An SSO session can be locked to the organization you signed in with. To switch to another organization, sign out and sign in again.
Next steps
Quickstart
Send your first chat and create an agent
Core concepts
Understand how agents, skills, connectors, knowledge, and memory fit together
Workspace settings
Review member invitations, roles, and workspace switching
Organizations & member invitations
For administrators: how to issue, resend, and cancel invitations